
Solar photography
This page is getting a major overhaul as I made quite some progress in both used software as in processing skills.
So I jumped in...
6 March 2026: My Lunt ST 70/420 LS60MT Ha B1200 Allround OTA with the Double Stack designed and built by Lunt Solar Telescope who's products are also used by NASA has arrived.The Double Stack (extra filter unit) took another month.
The sun is directly related to my Aurora activities so how could I not jump into this🤓.
At the moment I'm writing this the date is 25 october 2026 and A LOT has happened. The latest development is housing the solar photography in its own menu item. Some sub items may occur double as they may be covered in other items of astro photography as well or will be logical to find there also.
The first decent result. Overly active spot group 4366 is clearly showing with its surface structuring magnetic lines:
This is quite an extraordinary branch of the game. First of all it requires extreme safety precautions. Looking into the sun will very most definitely be the last thing you will see from that moment forward on to the rest of your life. That safety is not something you can build through time. You have to study it thoroughly, it's isn't much but extremely important to get it in place from the first time on your way.
If you do not have a dedicated telescope like the Lunt but you have to adapt a "normal" scope:
Turn the scope away from the sun, remove the main cap and the scopes for quick alignment and guiding in case they accidentally loose their caps unless they got the screw-in types, apply all the filters of which the ERF (Energy Rejection Filter) and your Quark or Herschell Wedge or similar are the most important.
Only then turn the scope into the sun.
One specific thing: when shooting a video a period of two minutes passes quickly. If your polar alignment is not good enough the stack will look beyond bad. But... polar alignment without stars in daylight, how?
Well quite simple actually... Setup your tripod and mount as good as you can directed to the north. You can do this with the help of a compass, do not do this by placing the compass in the direct vicinity of the mount as metal distorts the needle's magnetic direction. Lay something slim along the north-south line en look over the mounting plate of your mount or compare the side of your mount to the north-south line. 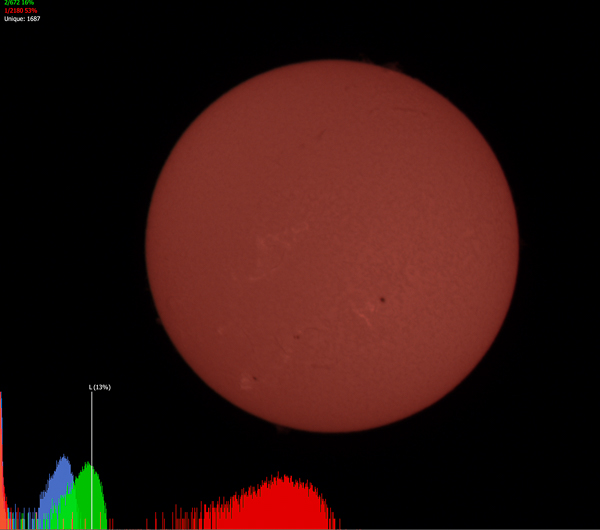 This takes some practice but works quite well. Now look at the suns image on your screen. Place the cursor on the rim of the sun or better still when available a sun spot and look at the motion. Correct motion due to off alignment in this way:
If the sun moves left then move the mount in the same direction A LOT. This of course goes for right, up and down as well. BE SURE TO HAVE LEVELLED YOUR MOUNT!!! Otherwise this process will be quite difficult. Just keep repeating until the spot or place where you placed your cursor stays there.
I liked to use FireCapture for this but now I use Laminar. Any capture application will do though. Centering the sun is somewhat difficult but when you activate the histogram you'll see it coming to life when the sun nears while not yet in the window.
TROUBLESHOOTING
Following are the first four video's that will lead you into this form of astrophotography. They are obviously not mine.
The very first to watch for root knowledge of what you are getting into:
Structures, wave lenghts and filters and why a monochrome camera
CaK and HA filters, what and why by Dark Sky Geek
Technique
Quark versus Herschell Wedge
Processing
Videos by Refreshing Views:
Set up and image capture
Full workflow
ERF filters for SCT
Multi wavelength with a Sol'Ex Spectroheliograph.